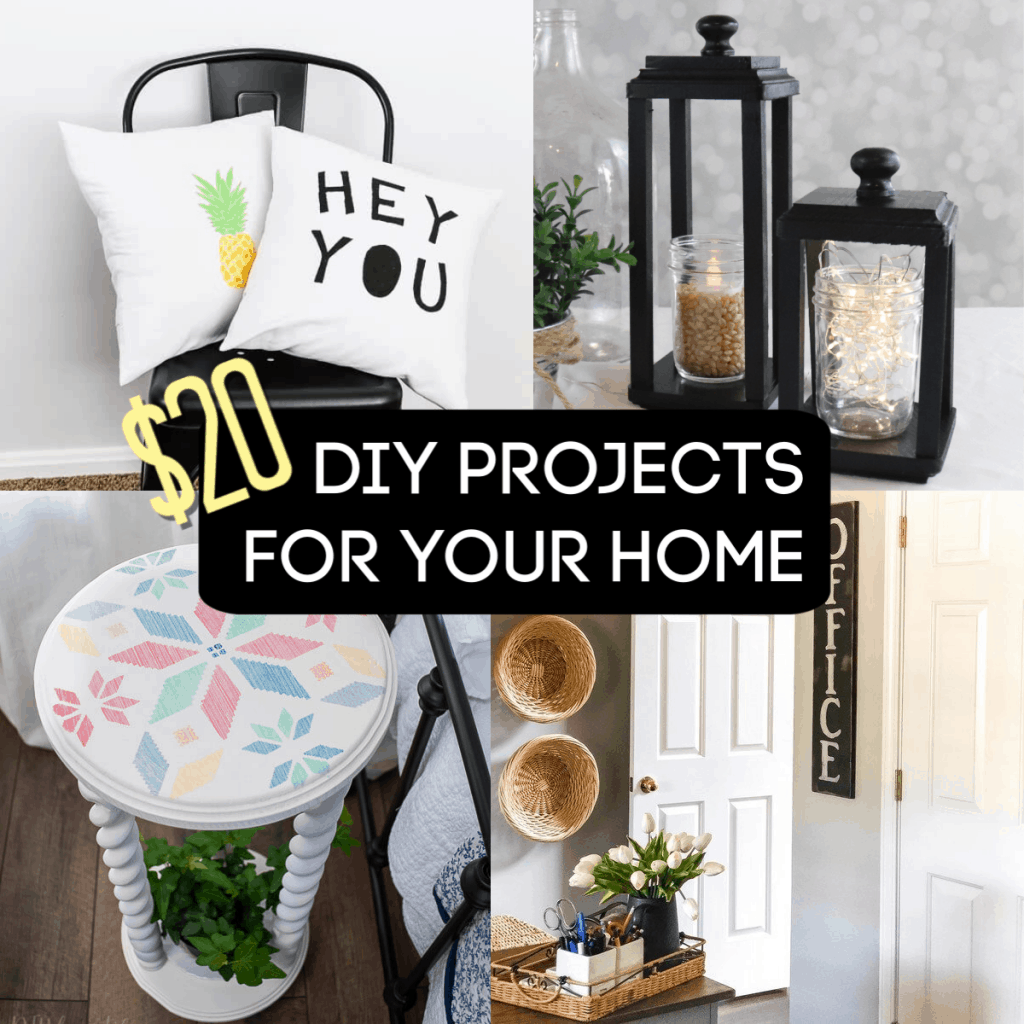
Tired of the same old, cookie-cutter decor that screams "mass-produced"? Do you scroll through Pinterest and Instagram, dreaming of a home that’s uniquely you, bursting with personality and style, without emptying your bank account? Well, get ready to unleash your inner decorator, because we’re about to dive into the world of DIY home decor projects that are not just easy, but utterly transformative. These aren’t your grandma’s crafting sessions; these are game-changers that will have your guests asking, "Where did you buy that?!" Prepare to be amazed, inspired, and maybe just a little bit addicted to the power of creating something beautiful with your own two hands.
Let’s be honest, hiring an interior designer or splashing out on high-end decor can be incredibly tempting. But what if we told you that you can achieve a designer look for a fraction of the cost, all while adding a personal touch that no store-bought item can replicate? That’s the magic of DIY. It’s about embracing creativity, discovering hidden talents, and transforming everyday materials into stunning pieces that tell your story. So, grab your glue gun, dust off your paintbrushes, and let’s get started on turning your humble abode into a sanctuary of style and individuality.
1. The "Wow Factor" Gallery Wall: Beyond the Basic Frame
Forget haphazardly hung photos. A truly impactful gallery wall is an art form in itself. This DIY project elevates your treasured memories and favorite prints into a cohesive, visually stunning focal point.
The Clickbait Secret: Instead of just frames, think texture and dimension.
How to Do It:
- Mix and Match: Don’t be afraid to combine different frame styles, sizes, and even materials. Think vintage wooden frames, sleek modern metal ones, and even unique items like old mirrors or ornate trays.
- Beyond Photos: Incorporate other elements! Consider pressed flowers, vintage postcards, children’s artwork, fabric swatches, or even small decorative objects. This adds a layer of intrigue and personality.
- Strategic Layout: Before you even pick up a hammer, lay out your arrangement on the floor. Play with spacing and balance until it feels right. Take a picture to remember your layout.
- The Color Palette Connection: Even with diverse frames and items, a consistent color palette for your artwork or matting can tie everything together.
- The "Unexpected" Element: Consider a DIY macrame plant hanger or a small, painted shelf integrated into the wall to break up the flatness and add visual interest.
Why it’s Clickbait-Worthy: This isn’t just hanging pictures; it’s curating a visual narrative. It’s about creating a dynamic, personalized art installation that instantly injects personality and sophistication into any room.
2. The Geometric Accent Wall: A Modern Masterpiece on a Budget
Tired of plain painted walls? Geometric patterns are a fantastic way to add depth, visual interest, and a contemporary edge to your space. This DIY is surprisingly accessible and yields incredibly sophisticated results.
The Clickbait Secret: Achieve a designer wallpaper look without the price tag (or the permanent commitment!).
")
How to Do It:
- The Power of Painter’s Tape: High-quality painter’s tape is your best friend here. Choose a contrasting paint color or even a metallic finish for a truly statement-making wall.
- Design Inspiration: Look for geometric patterns online – hexagons, chevrons, triangles, or even more abstract tessellations.
- Precision is Key: Measure and mark your lines carefully. Use a level to ensure your lines are perfectly straight.
- Layering Colors: Experiment with two or three complementary colors for a sophisticated, layered effect.
- Beyond Paint: For an even more unique look, consider using stencils or even applying removable wallpaper in geometric patterns.
Why it’s Clickbait-Worthy: This project transforms a bland wall into a work of art, making it an instant conversation starter and a true focal point of your room. It’s a bold statement that says you’re not afraid to embrace modern design.
3. Upcycled Furniture Facelifts: Giving Old Pieces New Life (and Serious Style!)
Don’t let that dusty old dresser or worn-out chair gather cobwebs. With a little creativity and elbow grease, you can breathe new life into forgotten furniture, giving it a stylish makeover that rivals anything you’d find in a boutique store.
The Clickbait Secret: Discover hidden treasures and transform them into statement pieces that ooze character.
How to Do It:
- The Power of Paint: A fresh coat of paint is the simplest yet most effective way to update furniture. Experiment with bold colors, distressed finishes, or even ombre effects.
- Hardware Upgrades: Swapping out old, tarnished hardware for modern, stylish knobs or pulls can instantly elevate the look of a piece.
- Decoupage Delight: Use decorative paper, fabric, or even old maps to decoupage surfaces for a unique and personalized touch.
- Stenciling Magic: Add intricate patterns or bold designs with stencils for a custom look.
- Upholstery Refresh: For chairs or benches, a new fabric can completely change the feel of the piece. Look for bold patterns or luxurious textures.
Why it’s Clickbait-Worthy: This is about sustainability and style. You’re not just decorating; you’re being resourceful and creating something with a story. Plus, the "before and after" transformations are incredibly satisfying and visually dramatic.
4. DIY Floating Shelves: Sleek Storage That Defies Gravity
Tired of cluttered surfaces? Floating shelves offer a minimalist, modern solution for displaying your favorite books, plants, and decorative items. The illusion of them "floating" adds a sophisticated architectural element to your room.
The Clickbait Secret: Create the illusion of weightless storage that looks incredibly expensive.
How to Do It:
- Material Matters: Choose from a variety of woods – pine, oak, or even reclaimed wood for a rustic feel. You can also use MDF or acrylic for a modern look.
- Concealed Brackets: The key to the "floating" effect is using hidden shelf brackets that are screwed into the wall studs.
- Perfect Placement: Decide on the height and placement that best suits your needs and the room’s aesthetic. Consider staggering them for a dynamic arrangement.
- Finishing Touches: Sand and finish your shelves with paint, stain, or a clear sealant to protect them and enhance their beauty.
- Beyond the Shelf: Add LED strip lighting underneath for a dramatic, ambient glow.
Why it’s Clickbait-Worthy: This project is about clean lines and minimalist chic. It’s functional art that makes your belongings look like curated displays, creating an open and airy feel.
5. The Statement Mirror Makeover: Turning Ordinary into Extraordinary
Mirrors are not just for checking your reflection; they’re powerful decor tools that can reflect light, create the illusion of space, and add a touch of glamour. Don’t settle for a plain, boring mirror.
The Clickbait Secret: Transform a basic mirror into a dazzling centerpiece that commands attention.
How to Do It:
- Mosaic Magic: Use broken tiles, sea glass, or even small pebbles to create a stunning mosaic frame around your mirror.
- Rope and Twine: Wrap the frame with natural rope or twine for a bohemian or coastal vibe.
- Paint and Embellish: Paint the frame in a bold color, or add decorative elements like seashells, beads, or even small faux plants.
- Geometric Fascinations: Create a geometric frame using wood strips or even painted cardboard for a modern, edgy look.
- The Sunburst Spectacle: Attach wooden dowels or metal rods radiating from the center to create a dramatic sunburst mirror.
Why it’s Clickbait-Worthy: This project takes a functional item and turns it into a show-stopping piece of art. It’s about adding sparkle, personality, and a touch of luxury to your walls.
6. DIY Cozy Textile Art: Softening Spaces with Texture and Color
Textiles bring warmth, texture, and personality to any room. Move beyond basic throw pillows and explore the world of DIY textile art for a unique and inviting touch.
The Clickbait Secret: Create tactile masterpieces that add instant warmth and artistic flair.
How to Do It:
- Macrame Masterpieces: Learn simple macrame knots to create wall hangings, plant hangers, or even decorative curtains.
- Embroidery Elegance: Embroider intricate designs, monograms, or even simple abstract patterns onto fabric for a personalized touch.
- Felted Fantasies: Create whimsical felt flowers, animals, or abstract shapes to adorn walls or furniture.
- Fabric Wall Art: Stretch and frame interesting fabric scraps, vintage scarves, or even old maps for a unique and colorful wall display.
- Tassel Terrific: Add DIY tassels to cushions, throws, or even create a tassel garland for a playful and bohemian touch.
Why it’s Clickbait-Worthy: This is about adding a layer of softness and artistry that makes a house feel like a home. The tactile nature of these projects is incredibly appealing.
7. The Herb Garden Wall: Bringing Life and Fragrance Indoors
Imagine fresh herbs readily available for your culinary creations, all while adding a touch of vibrant greenery to your kitchen or living space. A DIY herb garden wall is both beautiful and functional.
The Clickbait Secret: Grow your own fresh ingredients and add a stunning, living piece of art to your home.
How to Do It:
- Pallet Power: Repurpose an old wooden pallet by adding soil and planting your favorite herbs. Mount it on the wall for an instant vertical garden.
- Mason Jar Marvels: Attach mason jars to a wooden board or a repurposed ladder, fill them with soil, and plant your herbs.
- Pocket Planters: Utilize fabric pocket planters that can be hung directly on the wall. They are lightweight and easy to install.
- Succulent and Air Plant Accents: While not herbs, succulents and air plants can also be incorporated for added visual appeal and low maintenance.
- Consider Light and Drainage: Ensure your chosen location provides adequate sunlight and that your planters have good drainage to prevent root rot.
Why it’s Clickbait-Worthy: This project is a breath of fresh air, literally! It combines the satisfaction of growing your own food with the beauty of living decor, making your home feel more vibrant and alive.
8. DIY Concrete Creations: Industrial Chic for the Modern Home
Concrete is no longer just for construction. Its raw, minimalist aesthetic lends itself perfectly to a variety of chic home decor projects, from planters to coasters and even small side tables.
The Clickbait Secret: Achieve a high-end, industrial-inspired look with surprisingly simple materials.
How to Do It:
- Planter Perfection: Mix concrete and pour it into molds (like old plastic containers or specialized silicone molds) to create stylish planters.
- Coaster Coolness: Use small molds to create concrete coasters, which are durable and add a touch of modern sophistication.
- Candle Holder Charm: Create unique candle holders by pouring concrete into various sized containers.
- Small Side Table Statement: For the more ambitious DIYer, larger molds can be used to create small concrete side tables.
- Additives for Flair: Experiment with adding pigments for color, or embedding small stones or mosaic tiles for added texture and visual interest.
Why it’s Clickbait-Worthy: This project taps into the popular industrial and minimalist design trends, offering a sophisticated and surprisingly affordable way to achieve a high-end look.
9. The Dreamy String Light Installation: Magical Ambiance, Effortless Style
String lights aren’t just for holidays anymore! They’ve become a year-round decor staple, capable of transforming any space into a magical and inviting haven.
The Clickbait Secret: Create an enchanting atmosphere that feels both cozy and glamorous.
How to Do It:
- Canopy of Stars: Drape string lights across your ceiling, creating a starry night effect in your bedroom or living room.
- Bed Frame Brilliance: Wrap string lights around your bed frame for a romantic and whimsical touch.
- Mirror Magic: Outline your mirror with string lights to create a soft, flattering glow.
- Outdoor Oasis: Extend the magic to your patio or balcony for enchanting outdoor evenings.
- Themed Installations: Get creative with shapes! Use wire to create words or abstract designs with your string lights.
Why it’s Clickbait-Worthy: This is all about creating mood and ambiance. The soft, warm glow of string lights instantly elevates any space, making it feel more inviting and magical.
10. Upcycled Jar Lanterns: Bohemian Glow for Every Corner
Mason jars and other glass jars are incredibly versatile. With a few simple additions, you can transform them into beautiful, bohemian-inspired lanterns that cast a warm and inviting glow.
The Clickbait Secret: Create enchanting, affordable lighting that adds a touch of bohemian magic.
How to Do It:
- Painted Perfection: Paint the outside of the jars with translucent paint for a diffused, colorful glow.
- Lace and Twine Wraps: Wrap the jars with delicate lace or natural twine for a rustic and romantic feel.
- Beaded Beauties: Glue on beads, sequins, or small charms for a touch of sparkle and texture.
- Etched Elegance: Use etching cream to create intricate patterns or designs on the glass.
- Add a Candle or LED Light: Place a real candle (with caution and proper ventilation) or battery-operated LED lights inside for a safe and beautiful illumination.
Why it’s Clickbait-Worthy: These are the perfect projects for adding a touch of whimsical charm and affordable lighting to any corner of your home. They’re simple, customizable, and incredibly effective at creating a cozy atmosphere.
Unleash Your Inner Decorator!
These 10 DIY projects are just the tip of the iceberg. The beauty of DIY home decor lies in its endless possibilities. Don’t be afraid to experiment, to put your own unique spin on these ideas, and to embrace the joy of creating something beautiful with your own hands.
Remember, your home is your sanctuary, a reflection of your personality and your journey. By infusing it with handmade touches, you’re not just decorating; you’re telling your story. So, go forth, get creative, and prepare to be amazed by the incredible transformations you can achieve. Your friends will be asking for your secrets, and you’ll be able to proudly say, "I made that!"


Leave a Comment
You must be logged in to post a comment.