Forget expensive bakery masterpieces! Today, we’re diving headfirst into the magical world of cake home decoration, transforming your humble kitchen into a professional patisserie. Imagine pulling out a cake that looks like it belongs on the cover of a glossy magazine, made entirely by YOU, with simple techniques and readily available ingredients. It’s not a dream; it’s your new reality.
For years, the allure of stunning, professionally decorated cakes has been reserved for those with deep pockets and specialized skills. We’ve all scrolled through Pinterest, marveling at intricate sugar flowers, gravity-defying tiers, and flawless fondant finishes, secretly wishing we possessed that magical touch. Well, prepare to have your cake-decorating world flipped upside down. This isn’t about mastering complex piping techniques or spending hours sculpting marzipan figures. This is about smart, accessible, and downright brilliant home decoration hacks that will elevate your cakes from ordinary to extraordinary.
We’ve scoured the internet, consulted with home bakers, and experimented with countless ideas to bring you a curated list of 15 game-changing techniques. These aren’t just tips; they’re secrets. They’re shortcuts. They’re the difference between a cake that’s just “good” and a cake that elicits gasps of delight and a chorus of "Wow, you made this?!"
Whether you’re a complete beginner looking to impress at your next birthday party, a seasoned baker wanting to add a touch of finesse, or simply someone who enjoys a creative challenge, this guide is your ultimate companion. We’ll demystify the process, break down complex-looking designs into manageable steps, and equip you with the confidence to tackle any cake decorating project. So, grab your apron, preheat your oven, and let’s embark on a journey to create edible art that tastes as good as it looks.
The Foundation: Mastering the Basics for Stunning Results
Before we jump into the dazzling decorations, let’s ensure your cake itself is a worthy canvas. A beautifully decorated cake starts with a well-baked, evenly leveled base.
- The Perfect Bake: Ensure your cake layers are baked through but not dry. Use a toothpick to test for doneness – it should come out clean. Let your cakes cool completely on a wire rack before attempting to frost or decorate. Warm cakes are crumbly and will melt your frosting.
- Leveling is Key: A lopsided cake is a decorating nightmare. Use a serrated knife or a cake leveler to carefully trim off any domed tops, creating flat surfaces for stacking and frosting.
- The Crumb Coat Secret: This is a crucial step often overlooked by beginners. Apply a thin, even layer of frosting all over your cake to trap any loose crumbs. Chill the cake in the refrigerator for at least 20-30 minutes until the crumb coat is firm. This prevents crumbs from mixing into your final, beautiful layer of frosting, ensuring a clean finish.
Hacks That Will Make You Say "Why Didn’t I Think of That?!"
Now for the fun part! Get ready to be amazed by these ingenious cake home decoration hacks:
1. The "Mirror Glaze" Magic (Without the Stress!)
Forget complicated mirror glazes that require precise temperatures and expensive ingredients. You can achieve a similar glossy, elegant finish using simple jam! Warm your favorite clear or brightly colored jam (apricot, red currant, or even raspberry) until it’s pourable. Strain it to remove any fruit chunks. Gently pour it over your chilled, frosted cake. The result? A beautiful, shimmering glaze that looks incredibly sophisticated.
")
2. Edible Paint & Stencils: Artistry Made Easy
Unleash your inner artist with edible paints and stencils. You can buy pre-made edible paints in various colors or make your own by mixing food coloring with a little clear alcohol (like vodka, which evaporates). Use stencils (easily cut from parchment paper or purchased) to create intricate patterns, floral designs, or even custom text on your frosted cake. Dust with edible glitter or luster dust for an extra sparkle.
3. The "Rustic Charm" Naked Cake (Easier Than It Looks!)
Naked cakes are incredibly popular for their natural, effortless beauty. Instead of a thick layer of frosting, apply just a thin layer between cake layers and a very light "smear" around the sides. The cake layers are intentionally left visible. Decorate with fresh berries, edible flowers, or a dusting of powdered sugar for a charming, rustic look.
4. Chocolate Drip: The Ultimate Showstopper
A chocolate drip is a classic for a reason. It adds drama and elegance to any cake. Melt good quality chocolate (milk, dark, or white) with a little bit of cream or butter until smooth and pourable. Let it cool slightly until it’s thick enough to drip but still fluid. Use a spoon or a piping bag with a small hole to carefully drip the chocolate down the sides of your chilled cake. The thicker the mixture, the shorter the drips; the thinner, the longer.
5. Fruit Power: Natural Beauty and Flavor
Fresh fruit is your best friend for stunning and healthy cake decorations. Arrange vibrant berries, sliced peaches, figs, or pomegranate seeds in beautiful patterns on top of your frosted cake. For an extra touch, gently brush fruits like berries with a little melted white chocolate for a unique texture and flavor.
6. Sprinkles: Beyond the Birthday Party
Sprinkles are not just for kids’ parties! Use them creatively on adult cakes. Try ombre effects by graduating colors of sprinkles up the sides of the cake. Create a full sprinkle-covered top or a unique pattern. Look for gourmet sprinkles in sophisticated colors and shapes for a more elegant finish.
7. The "Cookie Cutter" Fondant Impression (This is Genius!)
Want to add a textured pattern to your fondant without special tools? Use cookie cutters! Lightly dust your fondant with cornstarch, then press your chosen cookie cutter into the fondant to create a raised impression. You can then fill these impressions with edible paint or luster dust for a beautiful embossed effect. Seriously, this is a game-changer for creating intricate designs with everyday items.
8. Edible Flowers: Nature’s Own Decorations
Edible flowers add an instant touch of elegance and whimsy. Ensure you are using flowers that are safe to eat and have been grown without pesticides. Pansies, violas, roses, lavender, and nasturtiums are popular choices. Gently wash and pat them dry before carefully arranging them on your cake.
9. Seashells and Pearls (Edible, of Course!)
Create a stunning beach-themed cake or a sophisticated dessert with edible seashells and pearls. You can buy edible sugar pearls in various sizes and colors, or use white chocolate and molds to create your own edible seashells. Arrange them artfully around the base or top of your cake.
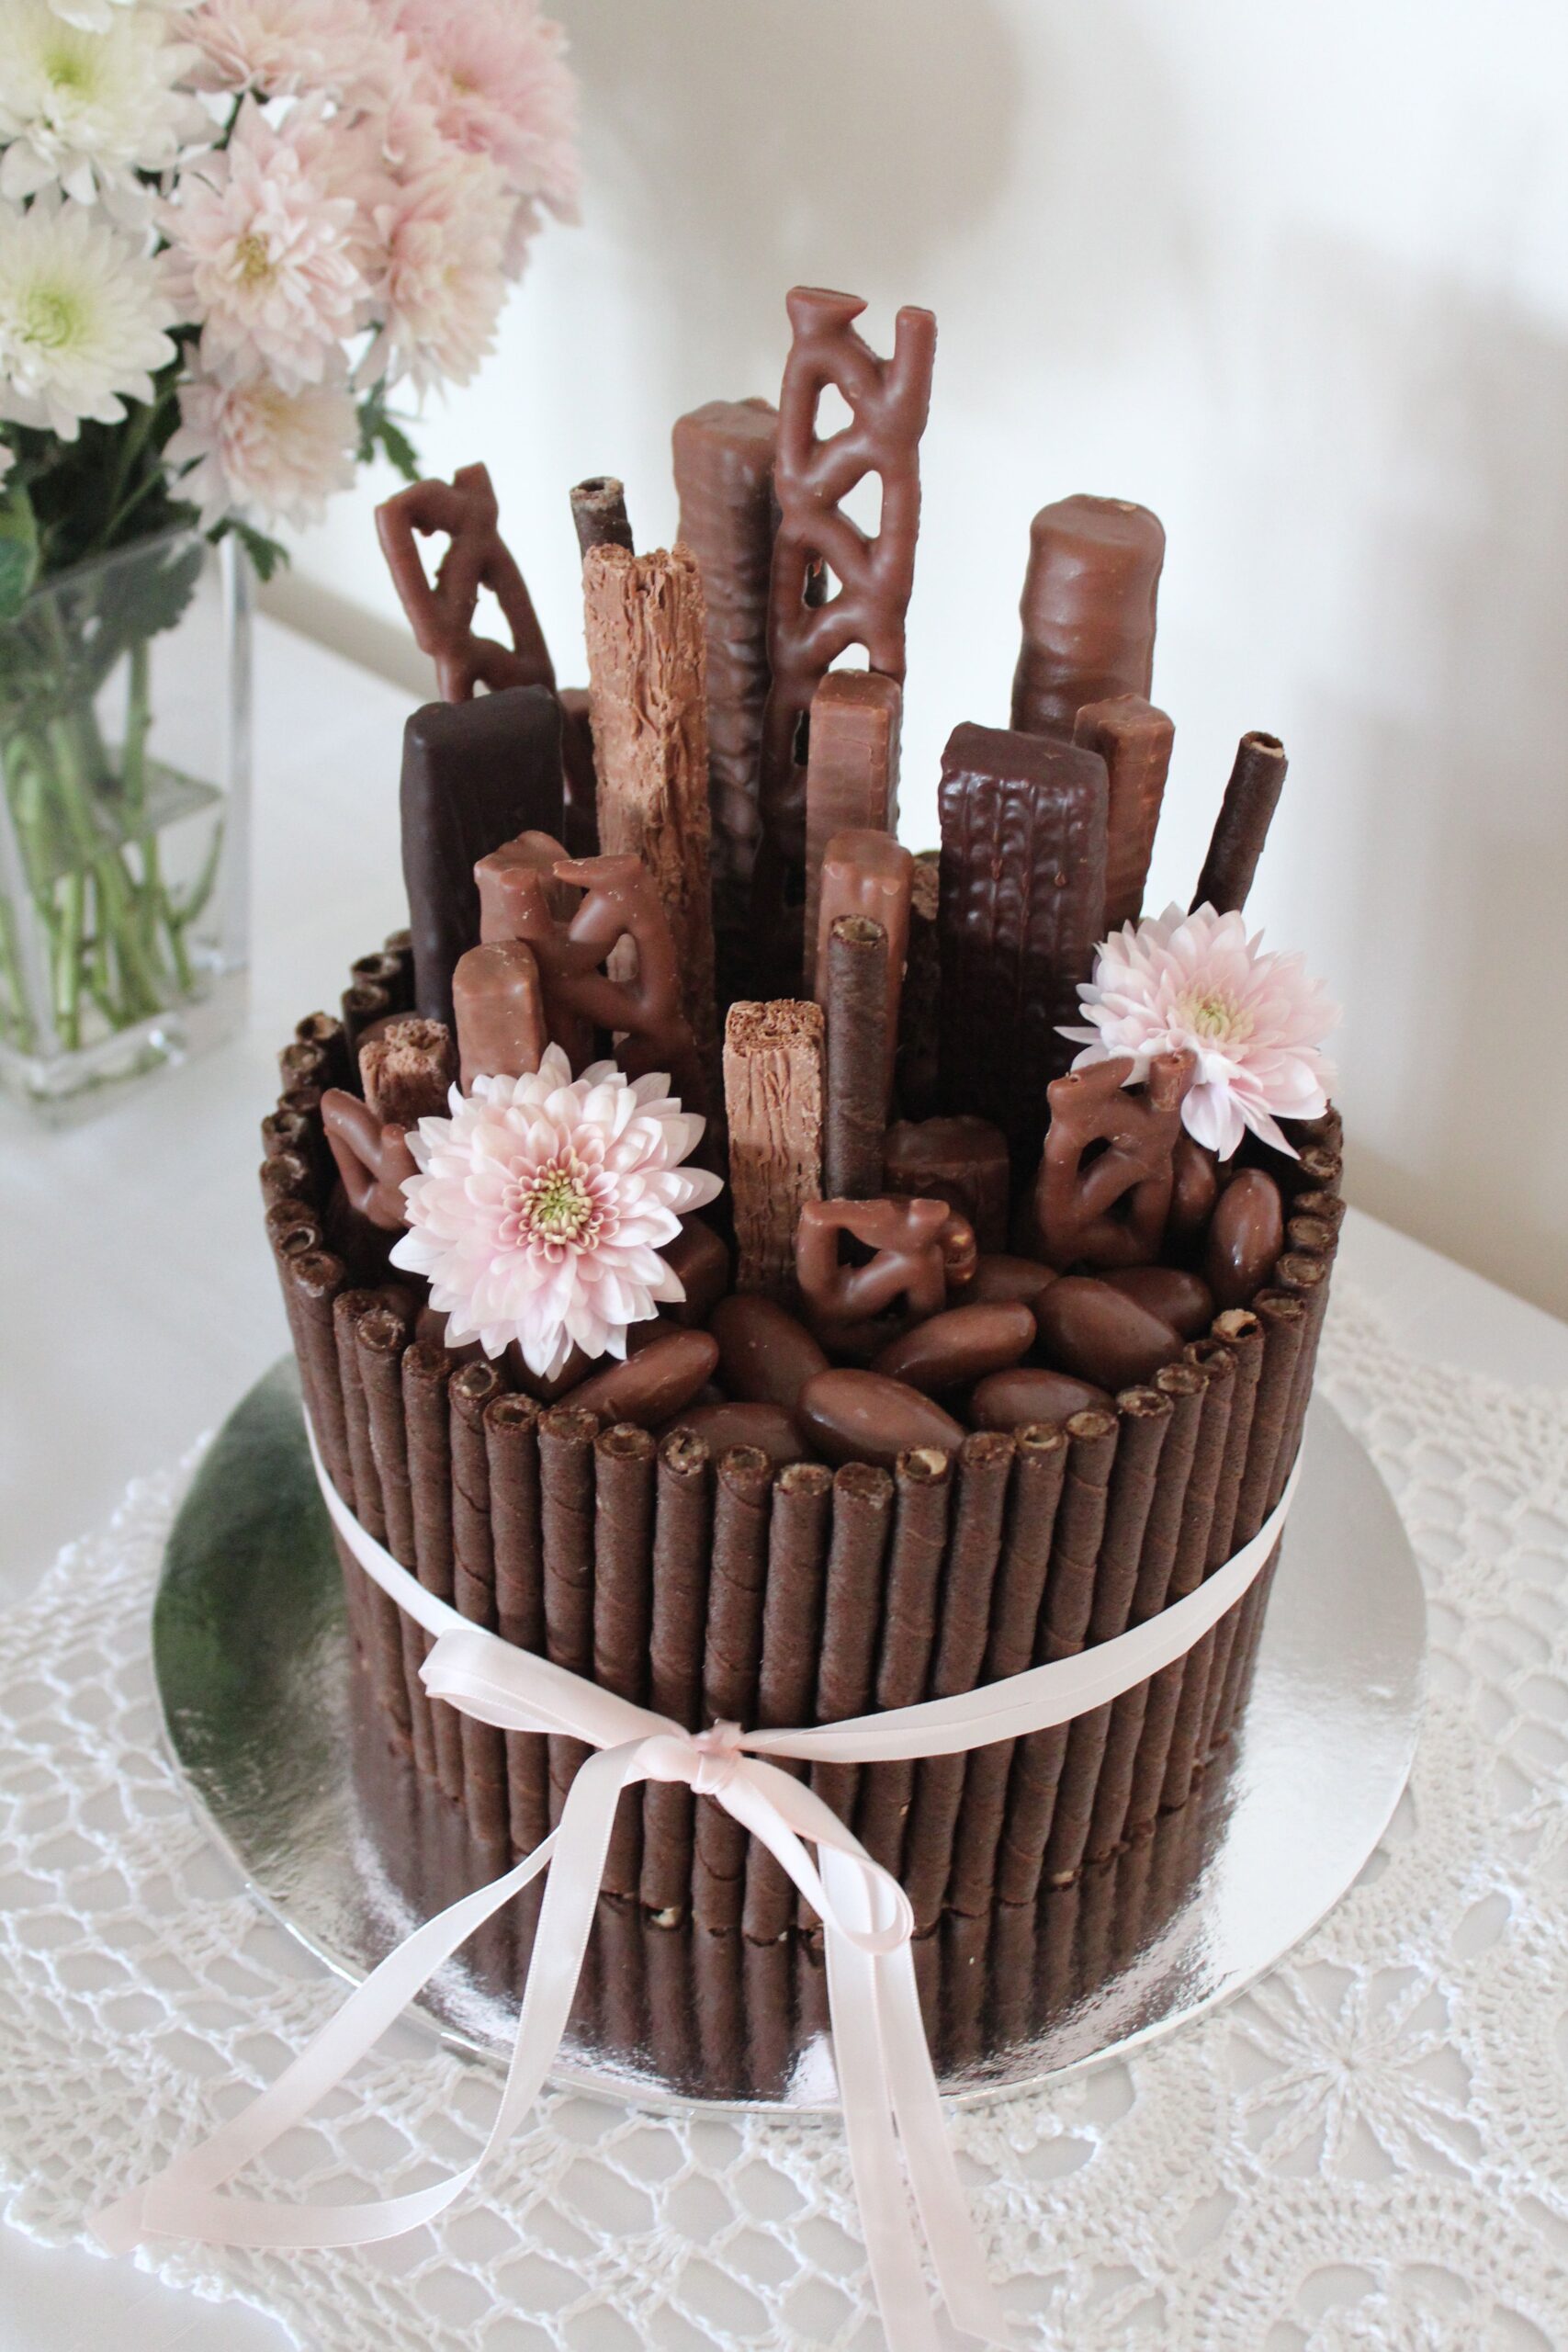
10. The "Melted Chocolate" Silhouette
This technique creates a striking visual. Melt white chocolate and tint it with a dark food coloring (black or dark brown). Pour it into a piping bag with a fine tip. Draw your desired silhouette (a cityscape, a tree, a figure) onto a piece of parchment paper. Let it set completely in the freezer, then carefully peel it off and place it onto your cake.
11. "Candy Melts" for Quick & Easy Designs
Candy melts are a versatile decorating tool. They melt easily and set quickly, making them perfect for creating simple shapes, drizzles, or even dipping cake pops. Use them to create colorful swirls, chocolate shavings, or even to attach edible decorations.
12. The "Shaved Chocolate" Waterfall
This creates a beautiful texture and a cascade effect. Use a vegetable peeler to shave blocks of chocolate (milk, dark, or white) onto parchment paper. Let the shavings curl naturally. Gently press the curled shavings onto the sides of your cake, starting from the top and letting them cascade down.
13. Coffee Filter Lace: Unexpected Elegance
For a delicate, lace-like effect, try this surprising hack. Lightly grease a coffee filter with shortening. Gently press it onto the sides of your frosted cake. The frosting will adhere to the filter. Carefully peel the coffee filter away, leaving a beautiful lace pattern. This works best on a chilled, firm frosting.
14. Using a Vegetable Peeler for Chocolate Curls and Ribbons
Beyond shavings, a vegetable peeler can create stunning chocolate curls and ribbons. Use a good quality chocolate bar. Hold the bar firmly and run the peeler down the side, applying gentle pressure. The chocolate will curl as it’s peeled. These look fantastic draped over cakes or arranged in a bouquet.
15. The "Toothpick Swirl" Frosting Technique
Achieve beautiful, textured frosting without fancy tools. Once your cake is frosted, use the back of a spoon or an offset spatula to create swoops and swirls. For more defined patterns, dip a toothpick into your frosting and gently drag it across the surface in swirls, zigzags, or even flower-like patterns.
Beyond the Hacks: Tips for Perfect Presentation
- The Cake Stand is Your Stage: A beautiful cake deserves a beautiful display. Invest in a nice cake stand that complements your cake’s style.
- Cleanliness is Crucial: Always work with clean hands and clean tools. Wipe away any stray frosting drips or smudges from your cake stand before serving.
- Consider the Occasion: Tailor your decorations to the event. A whimsical design for a child’s birthday, an elegant theme for an anniversary, or a sophisticated look for a dinner party.
- Practice Makes Perfect: Don’t be discouraged if your first attempt isn’t flawless. The more you practice, the more confident and skilled you’ll become.
Your Cake, Your Masterpiece
The world of cake home decoration is an exciting and rewarding one. It’s about creativity, fun, and the joy of sharing something beautiful with loved ones. These 15 hacks are just the beginning. They’re designed to empower you, to show you that stunning cake artistry is within your reach, right in your own kitchen.
So, the next time a special occasion rolls around, skip the bakery and embrace the challenge. With these simple yet effective techniques, you’re not just baking a cake; you’re crafting an edible work of art. You’re proving that with a little ingenuity and a lot of heart, you can truly create magic. Get ready for the compliments, the gasps of admiration, and the undeniable pride of saying, "I made this!" Your guests will be left speechless, and you’ll be well on your way to becoming the star baker of your home.


Leave a Comment
You must be logged in to post a comment.